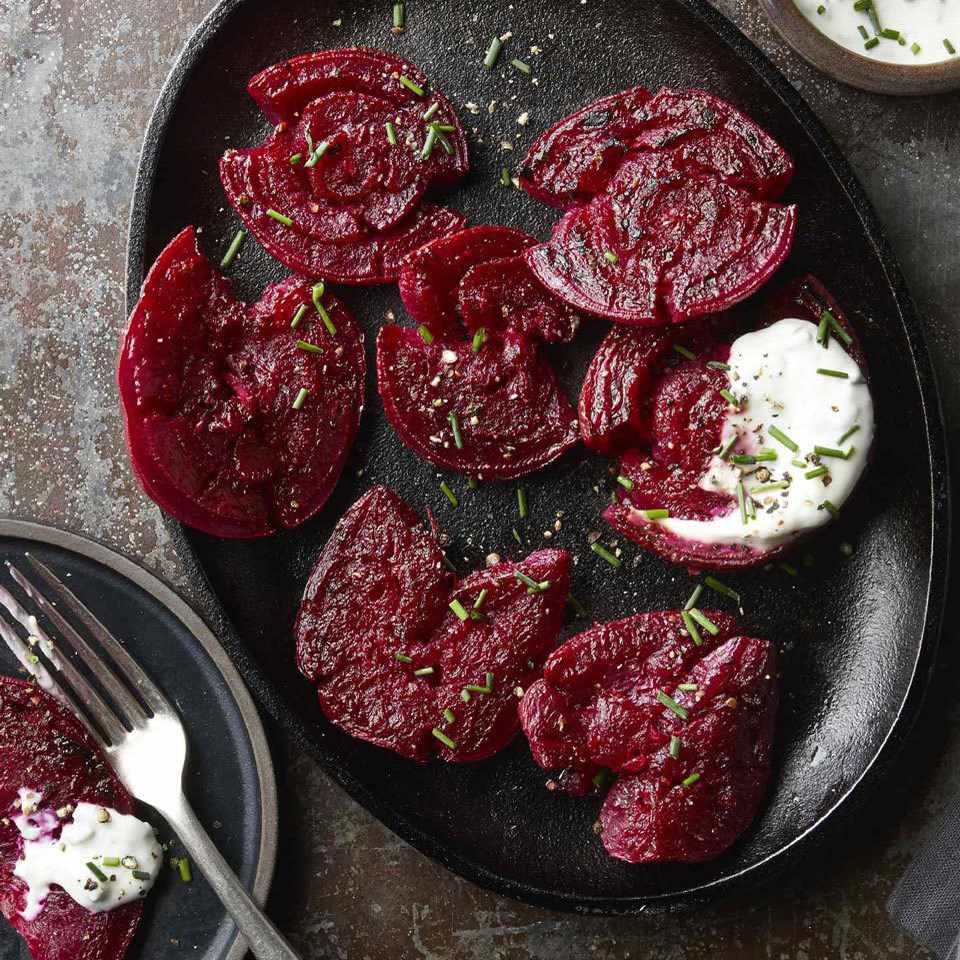
This meal with beets and garlic is a great option if you’re looking for something quick and easily digestible! These savory nibbles are not only very simple to make, but they taste amazing as well. They are sure to become a favorite whether served as a snack or a side dish. So let’s get started on this easy and delicious dish!

Ingredients: 3 beets, medium-sized
two minced garlic cloves
Two tsp olive oil
One-third cup of balsamic vinegar
To taste, add salt and pepper.
For garnish, use fresh parsley (optional).
Guidelines
1. Get the beets ready:Cut and Peel: First, peel the beets. Cut them into little cubes or thin rounds, depending on your choice.
2. Put Beets in Season:Combine the ingredients: Olive oil, balsamic vinegar, minced garlic, salt, and pepper should all be combined in a big basin. Slices or cubes of beets should be added to the basin and mixed until thoroughly coated.
3. Prepare the Beets:Warm up the oven: Set oven temperature to 400°F, or 200°C.Bake: Spread out the beets on a parchment paper-lined baking sheet in a single layer. Bake, rotating them halfway through, for 20 to 25 minutes, or until they are soft and beginning to crisp up around the edges.
4. Present and Savor:Finishing Touch: After the beets are cooked, move them to a platter. If desired, garnish with fresh parsley.Serve: It’s best to serve these garlicky and beet nibbles warm. They make a delicious snack, side dish, or even appetizer.
Advice for the Best Outcomes
Equal Pieces: Make sure the beet slices or cubes are the same size to guarantee even cooking.
Taste Boost: Before baking, sprinkle your preferred herbs, such as rosemary or thyme, on top for an additional flavorful explosion.
Crispy Edges: You can use the broiler for the final two to three minutes of baking to get even more crispiness. Observe them closely to avoid burning them.
Advantages for Health
Rich in Nutrients: Rich in vitamins, minerals, and antioxidants, beets promote general health.
Low in Calories: This dish is a good option because it is flavorful and low in calories.
Digestive Health: Beet fiber helps keep the intestines healthy and encourages proper digestion.
In summary
These bite-sized morsels of garlic and beets are so delicious that they will quickly disappear from your table. They are a veritable explosion of flavor and nutrients thanks to their delicious, rich flavor and pleasing texture. This recipe is quick and simple to prepare, making it ideal for any gathering. Try them and enjoy the flavor of garlic and beets in every bite. Have fun in the kitchen!
Conceited Woman Harassed Me in the Grocery Store, Shortly After, Karma Delivered Her a Public Lesson

One day, an angry woman stormed into a small grocery store, directing her frustration at a young cashier. The tension in the air grew thick as customers watched the drama unfold, but just when it seemed she would get away with her outburst, an unexpected twist left her humiliated.
The grocery store was cozy and familiar, with regulars like Mrs. Johnson, an elderly woman who always bought whole grain bread and flowers to remind herself of beauty in the world. The day began like any other for the cashier, who greeted customers while mentally counting down the hours until her shift ended.
Suddenly, the automatic doors swung open, and in walked a woman in her late thirties. Her hair was messy, and she wore a scowl as she marched toward the cashier. Following her was a small boy, who looked scared as he clutched his mother’s hand.
The woman confronted the cashier, angrily demanding to know why there were no organic apples available. The cashier apologized, explaining that there had been a supply shortage. The woman did not want to hear it and continued to berate the cashier, making a scene that drew the attention of everyone in the store, including the manager.
As the woman leaned in, threatening to ruin the cashier’s job with bad reviews, her son timidly suggested that they didn’t really need the apples. Instead of calming down, she snapped at him to stay quiet. The atmosphere in the store became increasingly uncomfortable as other customers observed the confrontation.
Just as the woman seemed ready to storm out, she turned to leave, but the automatic doors malfunctioned and wouldn’t open. She collided with them, creating a loud noise that silenced the store. Everyone stared, waiting to see what would happen next. Her face turned bright red, a mix of embarrassment and anger.
As she stood there in shock, her son tugged on her sleeve, gently telling her that she had been mean to the cashier and should apologize. His quiet yet firm words caught everyone’s attention. The woman’s tough demeanor softened for a moment, and it seemed she might finally admit she was wrong.
However, pride took over. Instead of apologizing, she mumbled something under her breath that didn’t sound sincere and hurriedly dragged her son out of the store once the doors finally opened.
The store buzzed back to life, but a strange silence lingered. The manager approached the cashier, asking if she was okay. She nodded, relieved but still processing what had just happened.
As the cashier resumed her work, she couldn’t help but wonder how the woman and her son would discuss the incident on their way home. Would the mother acknowledge her behavior, or would she dismiss it?
She hoped that the boy, Tommy, would remember the moment and learn the importance of admitting when you’re wrong. Perhaps he would grow up understanding that saying sorry is a sign of strength, not weakness, and that small acts of courage matter in everyday life.


Leave a Reply